Most disappointing bathroom renovations do not fail because the wrong tile was chosen. They fail quietly — behind the wall, under the floor, above the ceiling — and only show themselves a few seasons later as a soft patch of paint, a lifting grout line or a mirror that never quite stops fogging.
The good news is that everything that makes a bathroom last is decided early, in the planning stage, while it is still cheap and easy to change. Here is the order we work in at Home Path Point, and the decisions we would make first if the room were ours.
Start with the wet zone, not the vanity
Begin with the shape of the shower and the position of the drain. Moving either one is far easier when nothing has been ordered. A shower that needs a curtain to keep the floor dry, or a drain that sits at the wrong end, will annoy you every single morning regardless of how good the brassware looks on day one.
Walk through the room in the order you will use it: where you step out, where the towel ends up, where the wet footprints travel. Those movements decide the floor layout far better than a photograph of someone else's bathroom.
Waterproofing is the whole job
In our experience this is the single most common place corners get cut, usually because it is invisible work that adds time. A proper wet-area system means a continuous membrane, correctly banded at every corner and junction, lapping into the shower recess and turning up the walls — installed before a single tile is opened.
Ask this one question of any contractor: what waterproofing system are you using, and how will it be tested? The answer tells you a great deal about the rest of the build.
Then insist on a flood test. Fill the shower recess, leave it, and check the room below and beside it. It takes patience and it has saved more renovations than any warranty clause.
Ventilation and heat are not extras
Moisture that cannot leave a room will eventually find something to damage. An extractor sized for the volume of the room, ducted properly to the outside rather than into the roof space, is part of the build — not an accessory added at the end. Add underfloor heating on a separate circuit if the floor is being lifted anyway; warm floors dry a bathroom faster and make the room usable in a way fittings alone cannot.
- Duct the extractor to the exterior, never into the roof cavity.
- Leave a gap under the door so air can actually move through the room.
- Choose a quiet extractor — a loud one gets switched off early.
Design storage and light before finishes
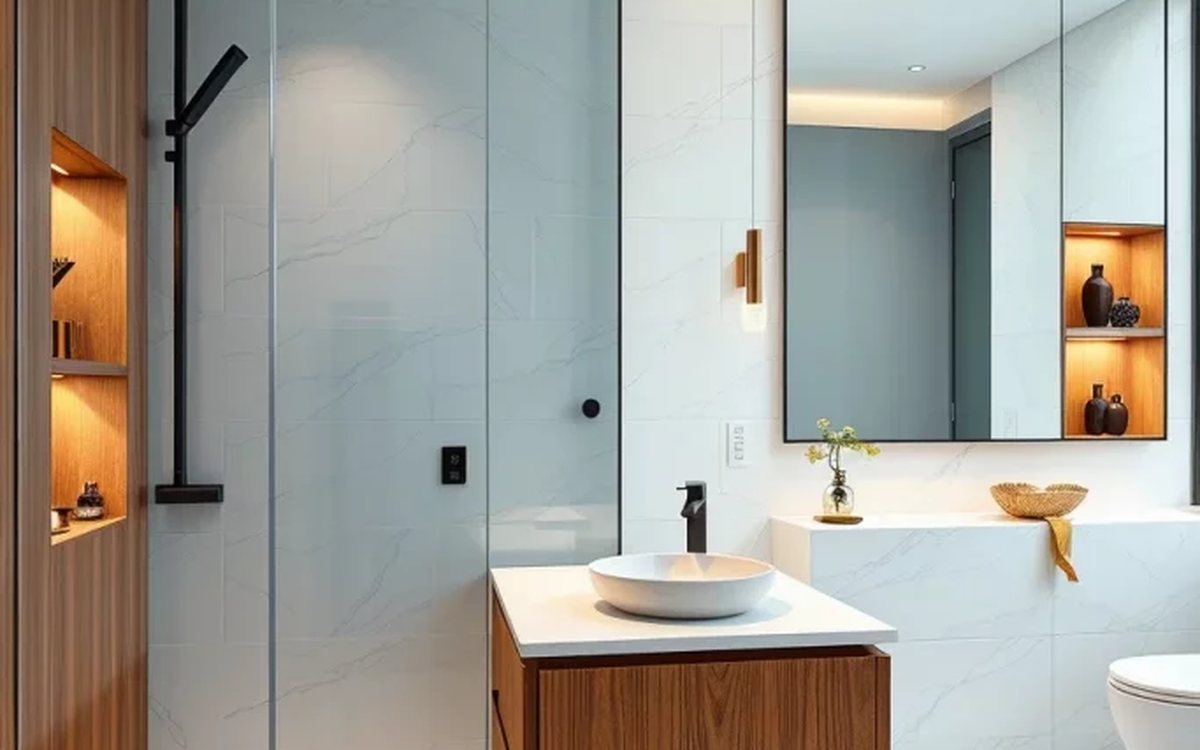
Storage in a bathroom is mostly decided by the wall plan. A recessed niche in the shower, a shallow cabinet beside the basin and a place for the things that usually live on the floor matter more than another decorative shelf. If you can, steal depth from an adjacent cupboard or a stud cavity rather than pushing the vanity further into the room.
Lighting is the same story: decide where the light needs to fall before the wiring is chased. Layer a soft general light, a focused light at the mirror and a low light for night use. A single ceiling fixture in the centre of the room is why so many bathrooms feel dim despite being bright on paper.
A short checklist for the planning stage
- Shower shape and drain position settled.
- Waterproofing system named, banded and flood tested.
- Extractor sized and ducted outside.
- Underfloor heating considered while the floor is open.
- Storage depth found from recesses, not floor space.
- Lighting layers drawn on the plan, not chosen on site.
Choose finishes you can live with
Large-format tiles and fewer grout lines are easier to keep clean. Matt finishes hide water marks better than polished ones. Timber-look floors in a bathroom need the right sealing system, or a porcelain alternative that gives you the same warmth without the maintenance. None of this is a style compromise — it is simply choosing materials that suit the room's daily reality.
One practical note: buy a spare box of tiles and keep the code. Matches change, and a future repair with a mismatched tile is a small problem that feels enormous.
Sequencing, briefly
- Strip out and inspect what is behind the walls.
- Rough-in plumbing and electrical, then test everything.
- Waterproofing, banding and flood test.
- Tiling, then joinery, then fittings.
- Seal, cure, and only then start daily use.
Every stage after the first depends on the one before it being right. That is why a bathroom is an unusual room to rush: the work that is hardest to see is the work that determines how long the visible parts stay beautiful.
If you would like a second pair of eyes on a planned bathroom, we are glad to look at your drawings and talk through the sequence before anything is ordered.